How to Tell When Your Meat is Done Without Cutting Into It: The Complete Guide
This comprehensive guide explains various methods to determine meat doneness without cutting into it. The article covers traditional techniques like the touch test and visual indicators, but emphasizes that using a quality meat thermometer (like TITAN GRILLERS) is the most reliable approach. It includes detailed temperature charts for different meats and cuts, proper thermometer usage techniques, and common mistakes to avoid. The post naturally incorporates the brand while providing genuinely valuable information for readers looking to perfect their meat cooking skills.
The honest answer is: you can't reliably tell if meat is done without a thermometer. Every non-thermometer method — touch test, color check, juice clarity, time estimates — has enough failure modes that experienced pitmasters and chefs still use thermometers. What you can do is combine visual cues with a thermometer to cook efficiently instead of probing constantly.
Why Cutting Into Meat Is a Bad Doneness Test
Cutting into meat on the grill has two problems. First, the color at the cut is misleading — smoked meat stays pink at 200°F internal due to nitric oxide reactions (the smoke ring), and some pork is legally safe to serve pink at 145°F. Color is chemically variable; it's not a reliable safety indicator.
Second, cutting lets juice escape. The moisture in properly cooked meat is under slight pressure — the muscle fibers have contracted, pushing liquid toward the center. Cut before resting and that liquid drains out. You end up with a drier result from the test itself. This is why every barbecue guide tells you not to poke, prod, or cut before resting.
The Touch/Poke Test (and Its Limits)
The touch test compares the firmness of cooked meat to the firmness of the palm of your hand at different flexed positions. Rare steak feels like the fleshy area below your thumb when your hand is relaxed. Well-done feels like that area when you make a fist.
It works well enough for experienced cooks working with the same cut repeatedly. It fails for beginners, for different cuts, and for anything more or less than 1-inch thick. The hand comparison assumes your hand has the same density and moisture as the meat — it doesn't. Different breeds, ages, and fat content in meat produce different firmness at the same internal temperature.
Use it as a rough screening tool — if the steak feels completely soft, it's probably under 130°F; if it feels like you're pressing a rubber eraser, it's past 160°F. Between those extremes, get the thermometer out.
| Method | Accuracy | Good For | Fails For |
|---|---|---|---|
| Touch test | ±15°F | Screening check on steaks | Thick cuts, poultry, safety checks |
| Color check (interior) | Unreliable | Nothing — too many variables | Smoked meat, nitrite-cured pork |
| Juice clarity test | Unreliable | Nothing — not endorsed by USDA | Poultry (primary use case for this test) |
| Time estimate | ±20–30% | Knowing when to start checking | Telling you it's done |
| Thermometer | ±1–2°F | Everything — definitive answer | Nothing — works on all cuts |
Visual Cues by Meat Type
Visual cues are most useful as a "probably not done yet" signal — not a "definitely done" confirmation. Here's what to look for:
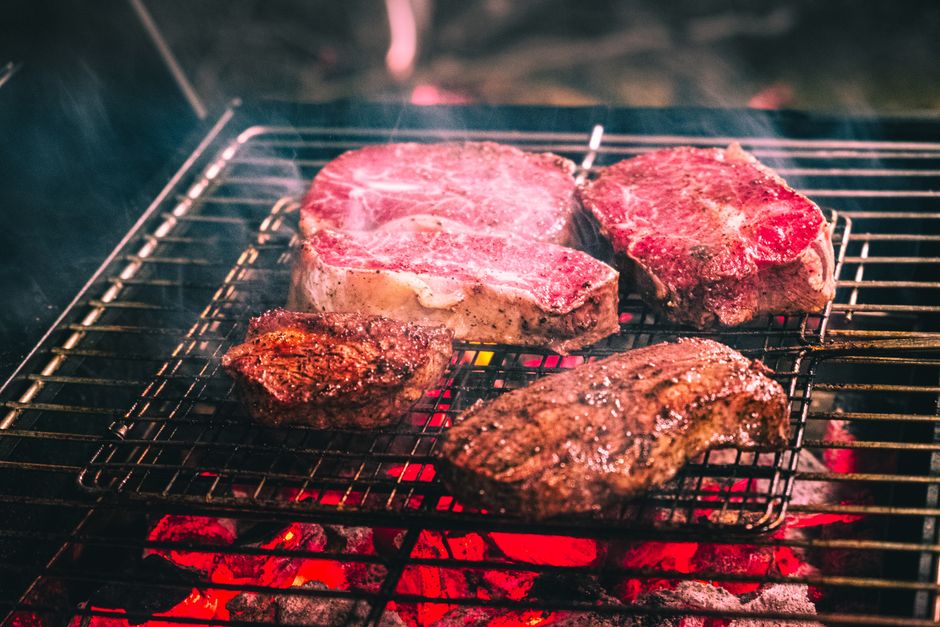
Steaks: Visible browning and rendering fat around the edges tells you the steak is developing a crust, not that the center is done. A bead of juice appearing on the top surface of a searing steak suggests the center is heating up — around medium-rare territory — but it's not precise.
Pork chops: When the sides have changed from pink to gray-white throughout the visible edge, the center is likely approaching done. This works better for thin chops (under 1 inch) where the edge represents most of the cut's depth.
Chicken: Visual cues are the worst here. Pink near the bone is a poor indicator of undercooking — it's often myoglobin, not blood. Clear juice is unreliable. The only reliable check is temperature. Legs and thighs that move freely in the joint suggest the collagen around the bone has broken down (usually at 165°F+), but it's a rough approximation.
Fish: Color change from translucent to opaque is reliable for most white fish — when the interior is opaque throughout, it's done at approximately 145°F. Salmon is the exception: it goes from bright orange to pale pink, and many people prefer it with a translucent center at 125–130°F.
Ribs: The bend test — lift the rack from one end and observe how it bends — indicates collagen breakdown. A fully cooked rack bends 45–90 degrees when lifted from one end, with the surface starting to crack. This approximates 195°F+ internal temperature but it's a texture test, not a temperature measurement.
Why a Thermometer Is the Only Reliable Method
Visual and tactile tests have one fundamental problem: they all measure surface or proxy conditions, not the actual interior temperature. Meat that looks and feels done on the outside can have a 140°F center. Meat that looks underdone from the outside can be perfectly at target inside.
The stakes are higher than just texture. Under 165°F chicken doesn't just taste undercooked — it can contain Salmonella at levels that cause illness. Under 160°F ground beef can contain E. coli O157:H7. These bacteria have no visual or textural signature at dangerous levels. You cannot see or feel them.
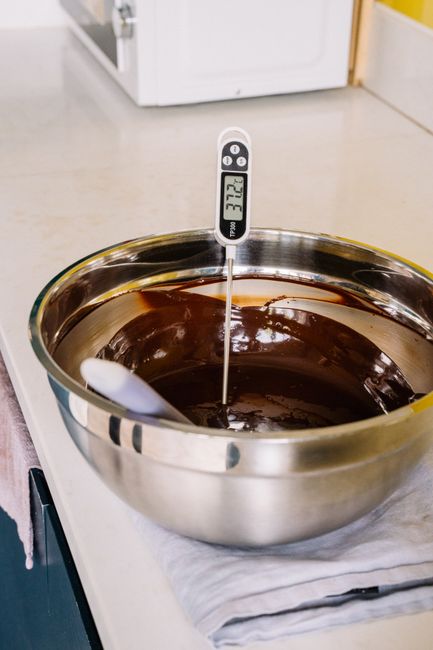
A $20 instant-read thermometer gives you a 2–4 second answer that no amount of hand-poking can replicate. If you're only going to change one thing about how you grill, it's adding a thermometer. Check our chicken temperature guide for safe temperature targets on every poultry cut.

How to Probe Without Ruining the Cook
The complaint against thermometers — "you lose juice every time you poke it" — is overblown. A thin probe creates a ~1mm hole. Juice loss from a probe hole is negligible. The juice loss from cutting open and then resting improperly is significant. Use the thermometer.
Probing technique that minimizes any impact:
- Insert once, to the right location. The purpose of each probe is to get the reading from the geometric center of the thickest part. Hit that on the first try by measuring with your finger against the probe to mark the correct depth before inserting.
- Don't wiggle the probe. Insert cleanly, read, withdraw cleanly. Wiggling creates a larger hole and introduces air that can affect the reading.
- On steaks, probe from the side. Insert horizontally through the edge to reach the center. Probing from the top on a 1-inch steak only reaches the surface layer.
- Wait for the reading to stabilize. Insert and hold still for 3–5 seconds. The reading keeps rising for the first second or two — that's not the real temperature.
Cut-Specific Doneness Cues (Combined with Thermometer)
The best approach combines visual cues to know when to check, with the thermometer to confirm. Here's the combination approach by cut:
- Steak: When color on the sides has risen to 40–50% of thickness and good crust has formed, probe the center. Expected at roughly 3–4 minutes per side at high heat.
- Chicken breast: When visible browning has developed across the full surface and the thickest part feels firm to a poke (not squishy), probe. Don't wait for clear juice.
- Pork chops: When the fat cap is well-rendered and golden, probe. Pork chops that look done externally are usually within 10–15°F of target.
- Ribs: When the meat has pulled back 1/4 inch from the bone tips and the bend test shows 45+ degree flex, probe between bones. At this point you're checking whether you're at 195°F or 203°F — not whether you're done.
- Brisket: When the bark is firm and dark (mahogany-black), and the point jiggles visibly when the pan is shaken, probe the thickest part of the flat. The probe should slide with no resistance when you're at 200–205°F.
Frequently Asked Questions
Is the touch test a reliable way to check steak doneness?
Not reliably — it's accurate to within ±15°F, which is enough to tell rare from well-done but not enough to hit a specific target. Experienced cooks use it as a rough screening tool to know when to get out the thermometer. For consistent results, always confirm with a thermometer.
Does cutting into meat really ruin it?
Yes, cutting before resting causes juice loss. The muscle fibers have contracted during cooking, pushing liquid toward the center under pressure. Cutting before those fibers relax (during rest) releases that juice onto the cutting board. The probe hole from a thermometer is negligible — a 1mm hole doesn't cause meaningful juice loss.
Can you tell if chicken is done by the color of the juice?
No. Juice clarity in poultry is affected by myoglobin content, cooking method, and smoke exposure — not just temperature. Clear juice from an undercooked chicken is possible. The USDA does not endorse the juice clarity test. Use a thermometer reading 165°F in the thickest part.
What is the bend test for ribs?
The bend test involves lifting a rack from one end with tongs and observing how it flexes. A properly done rack bends 45–90 degrees with the meat surface starting to crack — this indicates collagen has broken down. It's a texture test that correlates roughly with 195°F+ internal temperature, but verify with a thermometer between bones for confirmation.
When is it okay to rely on visual cues instead of a thermometer?
Only for quick-cooking items where food safety is not a primary concern — grilled vegetables, shrimp (which turn opaque and curl when done), and fish fillets where flaking is a reliable texture cue. For any meat where food safety matters (poultry, ground meats) or where hitting a specific doneness target matters (steaks, roasts), use a thermometer.
Does probing meat with a thermometer cause it to lose juice?
Not meaningfully. A probe creates a ~1mm hole that causes negligible juice loss. The concern about "losing juice" applies to cutting the meat open, not to thermometer probes. Probe as many times as needed for an accurate reading without worrying about the holes.
Recommended by Titan Grillers
IP67 Waterproof Digital Meat Thermometer
Reads in 2–3 seconds · Backlit LCD · Built-in magnet · Free returns


